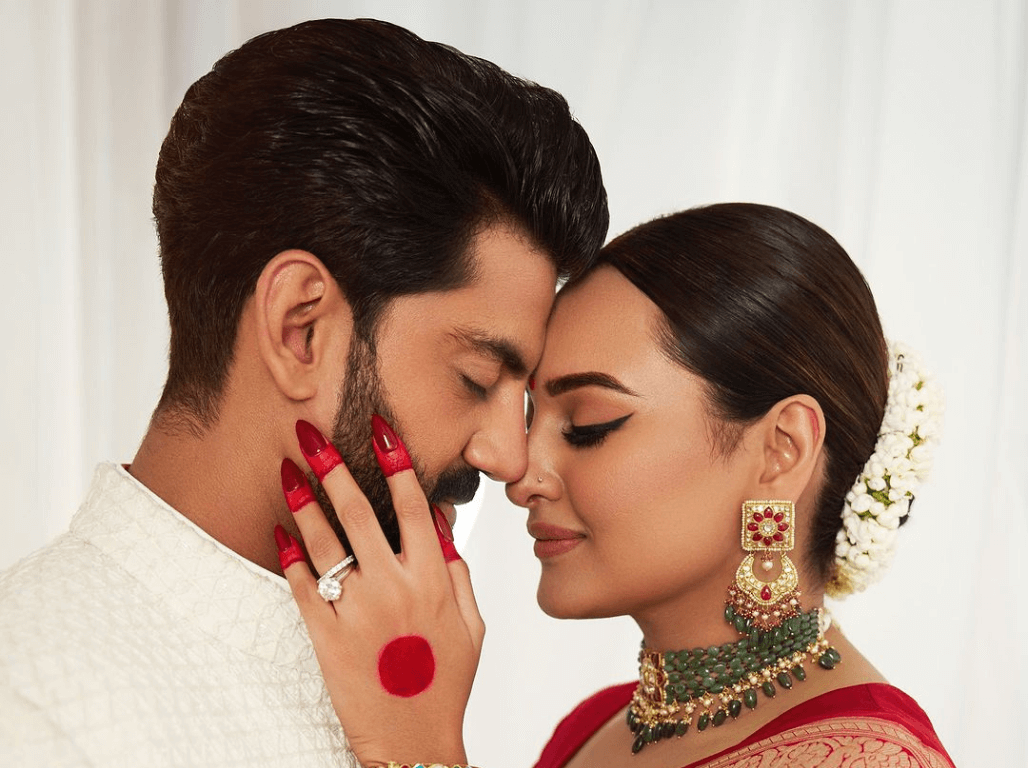
Ombré hair is a hot trend this year, so why stop there.
One of this year’s biggest fads is the Ombre effect and if you have been keeping up with hair techniques you have certainly seen it. The word “Ombre” is French and basically means shading or graduation.
It refers to the graduation of color from darker to lighter. Now that the Ombre effect has conquered the hair industry, it makes sense that the next step will be for it to spill over into makeup. We saw everything from subtle two-tone transitions to bolder colour duos. Ombre lips and eyes are quickly popping up everywhere.
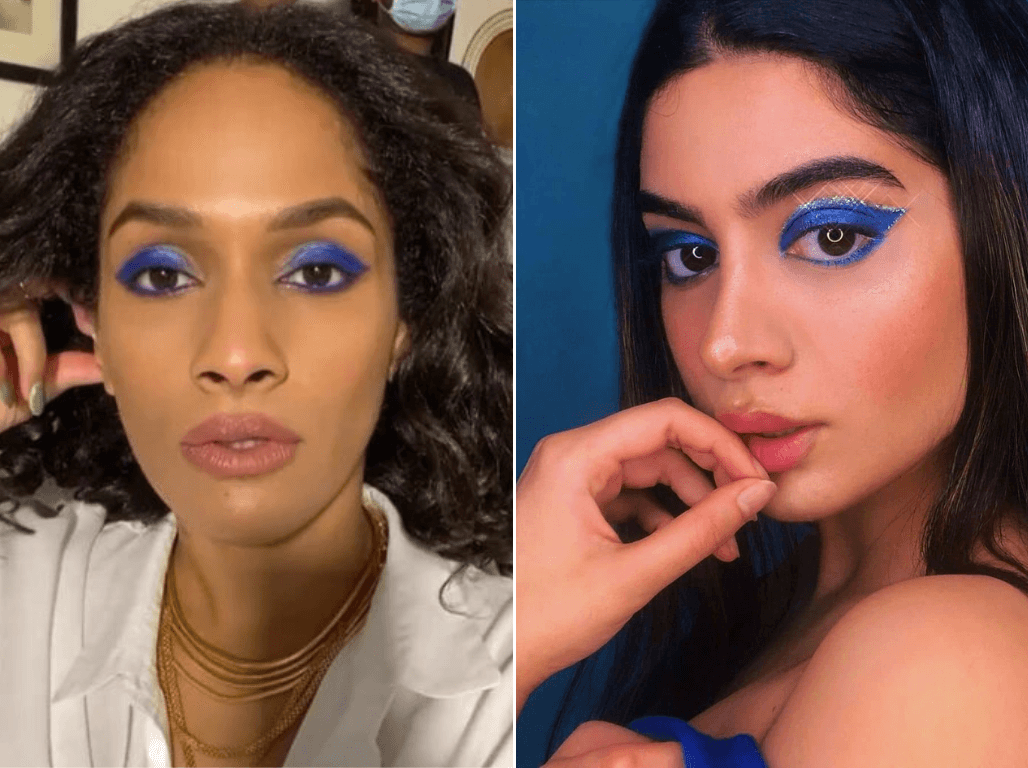
There are a few different techniques for achieving each of these ombré looks, but I’m sharing the ones that worked the best for me because they’re quick and simple. With regards to colours, you’re welcome to experiment, but if you’re just starting out, it’s always easier to work with two shades that are in the same colour palette (rose and fuchsia, cherry red and plum, navy and royal blue, and so on)—just make sure that one shade is darker than the other.
 Ombré Lips
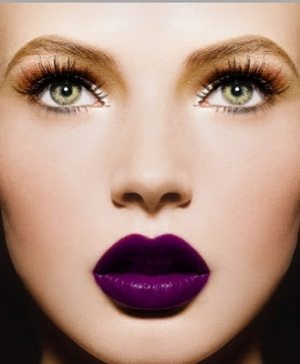
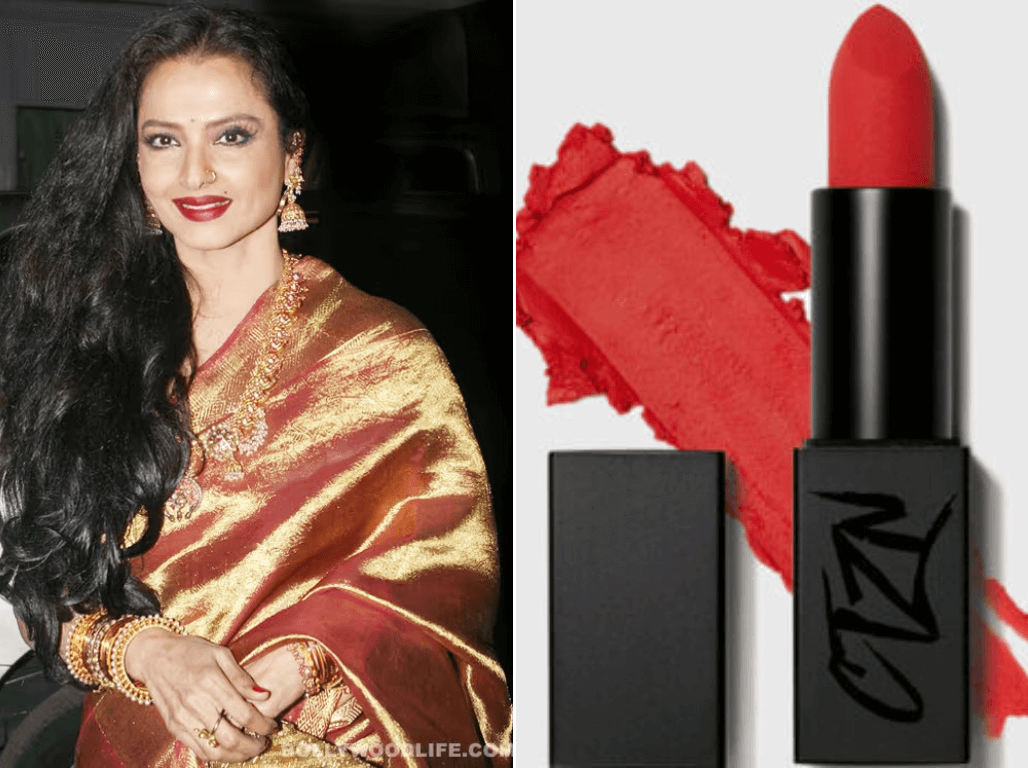
Ombré on your lips is a great way to add a bit of dimension, especially if yours are a little thinner. It works better when you use thicker, opaque lipsticks, as opposed to the light sheer textures.
· Prep your lips with a little balm to avoid chapping. Then outline your natural lip line with a neutral or clear liner to avoid feathering. You can also use a liner that’s the same shade as your darker lipstick.
· Apply the darker shade of lipstick straight from the tube to get more pigment on your lips. Cover your whole lip area except for the upper middle of your bottom lip and the lower middle of your top lip.
· Apply the lighter shade of lipstick on the bare areas on your lips. Instead of swiping it on, just dab.
· Use your finger to blend the two shades. I find that gentle feathery strokes from the light shade into the darker shade works best. Then lightly press your lips together but don’t rub them together too much otherwise you’ll blend the colours too much.
· Finish it off with a clear gloss.
 Ombré Eyes
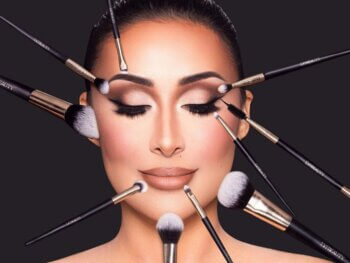
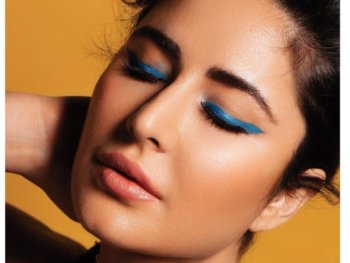
For this version of ombré eyes, the colour is darker near the lash line and then fades into a lighter shade up toward your brow. It’s easier to do with stick shadows, although using powder and an angled brush works too. Pick three shades.
· Cover your whole eyelid with a primer, including under your brow, to prevent creasing and to make the colour pop more.
· Cover your lid in the darkest shade, stopping just before the crease.
· Apply the medium tone right above the first shade. It should go from just below the crease (where the first shade ended) to just above the crease. It helps if you follow the shape of your eyebrow.
· The lightest shade should start where the middle tone ends and go up to roughly your brow bone.
· Use a clean brush to blend the three shades into each other. You can use your finger too, but just be careful not to press down too hard or you’ll end up wiping patches off.
· Finish it off with mascara and a touch of liner on your lower lids. For an extra dramatic look, you can also carry the darkest shade under your lower lash line.
 Ombré Nails
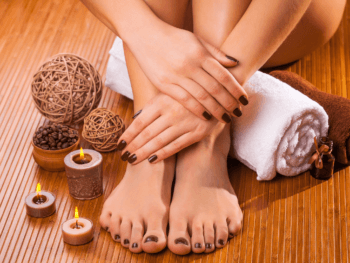
No one really wants to spend hours doing fancy nail art. Ombré is an easy way to do something different without having to get too crafty.
· Start by covering all of your cuticles all the way around your nail with a layer of petroleum jelly; try not to get it on your actual nail. I know this sounds tedious, but you’ll thank me later.
· Apply your base coat, followed by two coats of the lighter shade of polish. Let it dry.
· On a flat surface, paint a thick layer of the light shade you just applied, and then a thick layer of the darker shade right next to it—if they’re touching a bit, that’s even better. The more colours you use, the more of a gradient you’ll get.
· Use a toothpick to swirl the two polish colours together where they meet (so you have dark, blended and light). Press a small makeup sponge onto the polish mixture. You may need to dab it a few times but you should see the ombré effect on the sponge.
· Just press the sponge over top of your nail. The darker part should be at the top of your nail. Let it dry completely.
· Remember that jelly you put on at the beginning? When you wipe it off now, the excess polish that has gone past your nail bed should wipe right off. Use a Q-tip dipped in nail polish remover for any other areas.
· Finish it off with a topcoat of clear polish.
Image credits:
www.makeup-n-cosmetics.com,www.xsparkage.com.
Feature Image: ww.ndulgy.net
Soriyya Bawa
Author
Soriyya Bawa has been featured in national publications including ANOKHI Magazine Tribute Magazine and Canadian Family Magazine. Soriyya currently works as a freelance writer and editor based in Toronto, Ontario and also specializes in customized web content and socia...


