Dark circles are the beauty bane of many a South Asian beauty, myself included. They have the power to transform a smoky eye into a black one, and belie to the world when we benefit from restful sleep. This blog explores their causes, and the strategies on how to minimize their impact on our daily beauty look.
What Causes Dark Circles?
Dark circles, or rather their intensity in any given person, are related to genetics and lifestyle.
Genes: Genetics may be one of the possible causes of dark circles because we inherit the skin around the eyes which is incredibly thin and the veins underneath are apparent. Also, if you have a prominent forehead, that could create a shadow which makes the area around the eyes look darker.
Iron Deficiency: For us South Asians, iron deficiency is another cause that should be examined by a doctor. I highlight South Asians because recently Bollywood stars such as Dia Mirza and Vidya Balan, posted messages on their Instagram feeds using the hashtag #projectstreedhan to highlight that 50% of women in India suffer from iron deficiency.
Iron deficiency can lead to anaemia which the World Health Organization defines as a “condition in which the number of red blood cells or their oxygen-carrying capacity is insufficient to meet physiologic needs, which vary by age, sex, altitude, smoking, and pregnancy status.” The effect is that you tend to look paler (in addition to being tired) which makes the contrast between the dark circles and the rest of your face, more salient.
If you are regularly tired but you do eat healthy, it’s worth a visit to the doctor to assess your iron levels.
You May Have Lower Hemoglobin Levels: You may dismiss the issue of iron deficiency because you consume a North American diet. Regardless of the diet, consider the genetic blood disorder called Thalassemia, described by the Mayo Clinic as causing, “… your body to have less hemoglobin than normal. Hemoglobin enables red blood cells to carry oxygen. Thalassemia can cause anemia, leaving you fatigued.” The anaemia then leads to the dark circles as described herein above. The National Health Service listed the South Asian population as one that is particularly affected by this issue.
Poor Sleep: In addition to the above causes, poor quality sleep, whereby you go to bed and wake up intermittently, impedes your body from healing itself, and you wake-up with dark circles. Insufficient sleep, whereby you get less than the recommended 7-9 hours also results in dark circles.
Clearly, strong healthy sleeping habits are an issue that are in our immediate control. Unfortunately, good sleep just impedes the intensity of the dark circles. Therefore, while you work with your doctor to assess your iron, and master sleep hygiene, what is a South Asian beauty to do?
BEAUTY TIPS ON HOW TO MAKE LIGHT OF YOUR DARK CIRCLES
PHASE 1: NEUTRALIZE
Concealer is not the cosmetic panacea to solve dark circles. Rather, it’s a multi-pronged, sequential approach, whereby you neutralize, blend, and distract with various products to create a bright-eyed look on a bleary Monday morning.
The first step is to use a brightening eye cream to create a hydrated surface that serves as a canvass for the magic that is to come. I am do like Clarins Mission Perfection Yeux SPF 15, because it targets persistent dark circles.
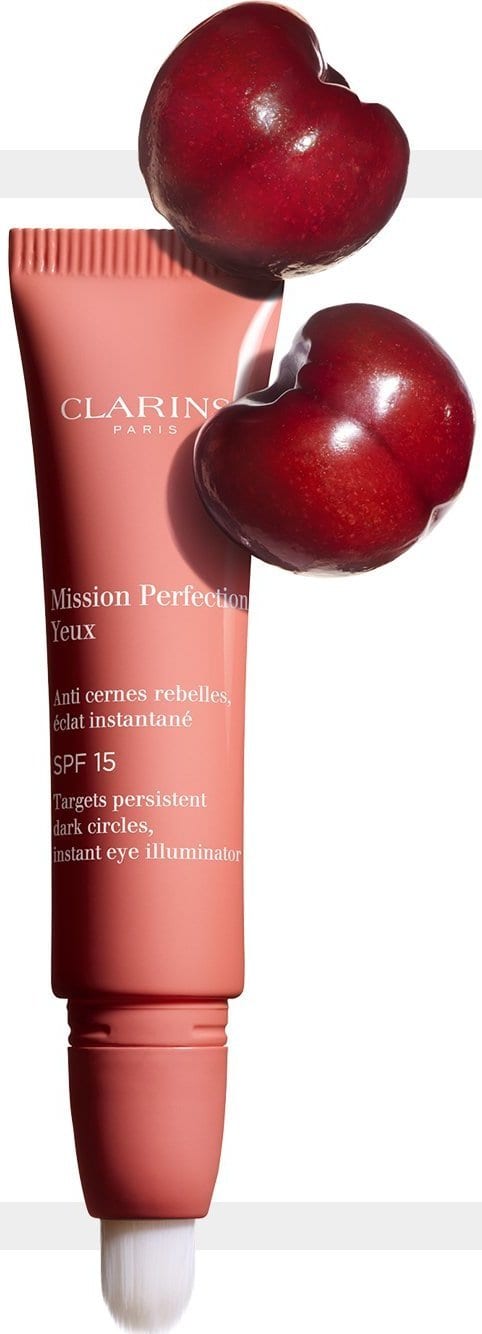
The lightweight, ecru-toned cream comes in a tube which is dispensed via the built-in semi-stiff, duck-billed brush. You twist the tube, gently squeeze a droplet of product and then lightly paint it into the contour. Initially, I was hesitant because I didn’t want my dark circles to look ashen but this product which a few gentle sweeps, disappeared into the skin left a sheen of brightness. Also, since it contains sunscreen protection, I also protect my circles, in addition to hydrating and brightening them.
The next step is to neutralize by applying a colour theory to the contour. Colour theory posits that a primary colour such as red, is cancelled by its contrasting colour, green, which is why they are opposite to each other on the colour wheel. Red is not alone in being cancelled by an opposite colour, blue is cancelled by orange which brings us squarely into the realm of dark circles.
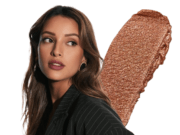
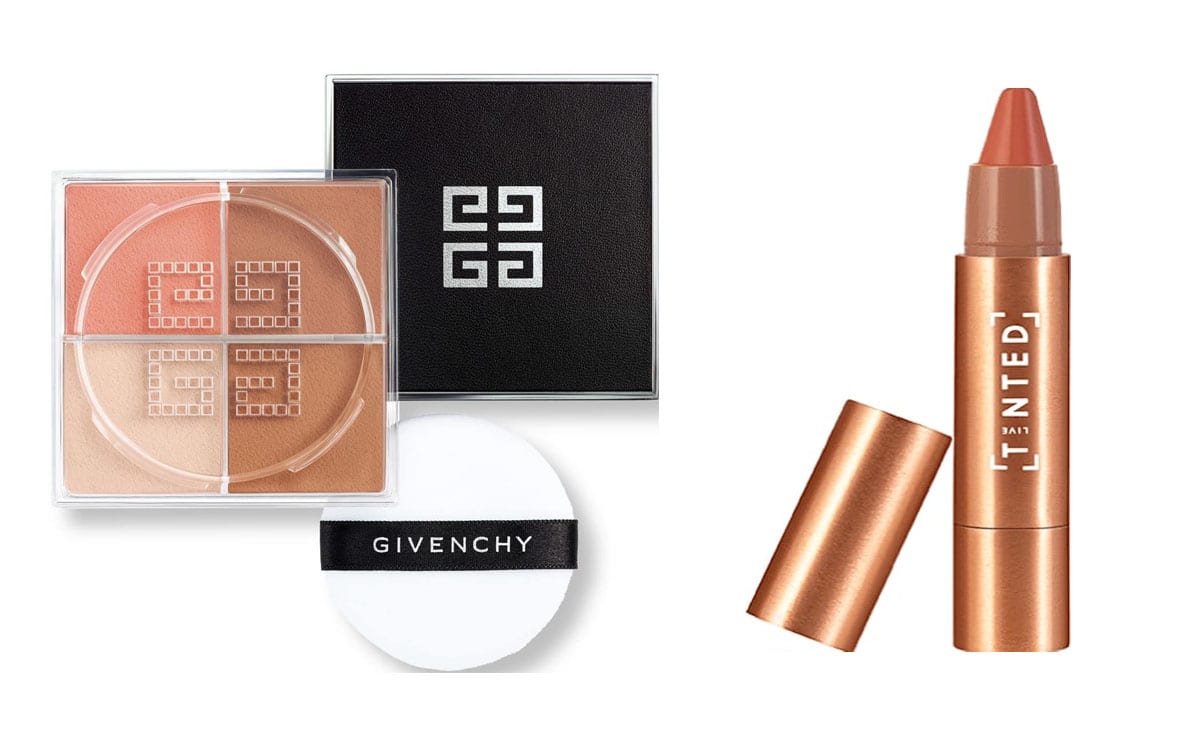
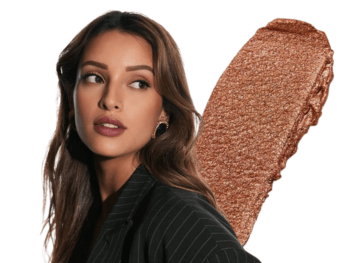
The darkness under our eyes leans toward blue which is why shades of orange ranging from peach to terracotta, are helpful to deal with the veins. I decided to try the much-heralded Live Tinted Hue Stick in Rise (“Stick 1”), an intense shade of yam, to lead the first charge against the dark circles.
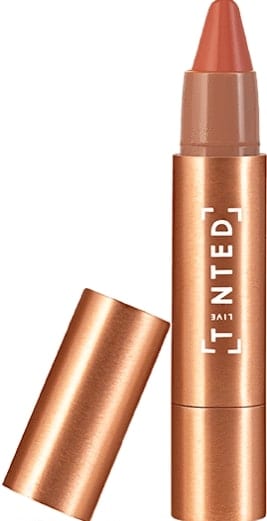
The handsome copper tube which you need to twist only slightly, yields a crayon-like tip, and a clean, vegan product that is richly-pigmented. The product’s smooth, soft texture is created by its hyaluronic acid (retains moisture on the skin), squalene (add emollience and anti-oxidant properties), vitamin C (brightens) and vitamin A ( normalizes the appearance of pigmentation).
At first, I used to apply Stick 1 directly to my contour and this resulted in excess product and a less than stellar finish for my contour. I now judiciously dab the tip of the Make Up For Ever Straight Brush 244, a densely-packed, medium-bristled brush that is designed to deposit creamier products such as concealer onto the skin, onto Stick 1.

The trick is to then embrace your inner-pointillist and quickly tap the pigment on the contour only. You will need to repeat the dab and tap procedure several times for each contour.
Once the area is half covered, use the flat part of the brush and then blend all of the taps of pigment, until the contour looks orange. The process can take about a minute for each eye and for a few moments you will look ridiculous.
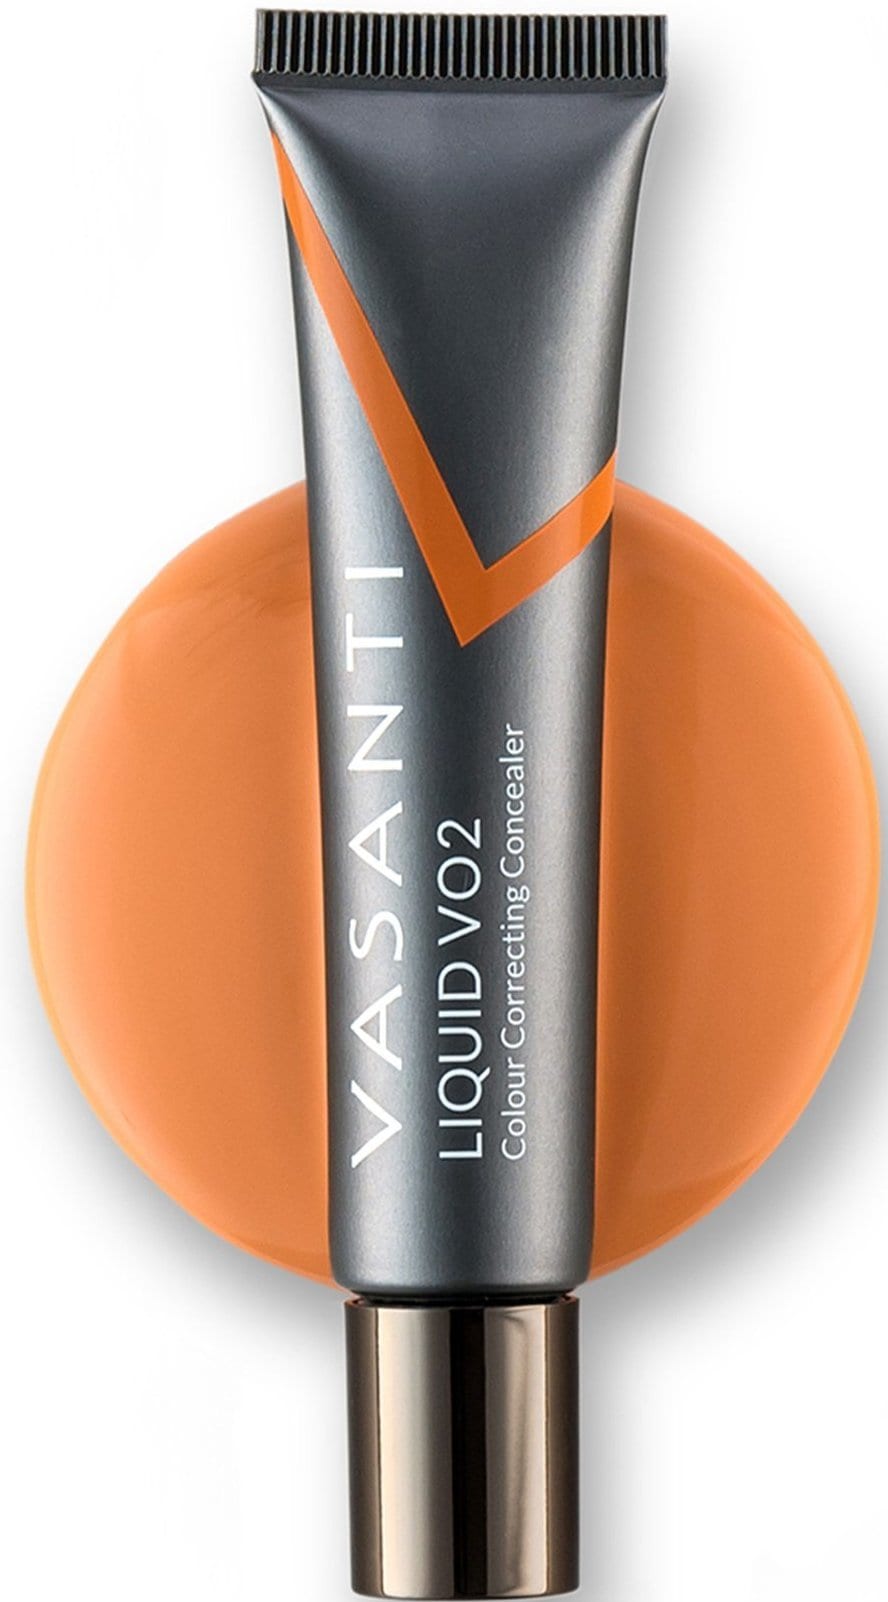
If the skin in your eye contour tends to be crepey and dry a few hours after you hydrate, chances are it is on the dry side. You should assess texture when selecting a corrector, and a good liquid one is Vasanti Liquid VO2 (Dark Circle Eraser). Its fluid nature means that it is easier to apply on fine lines, and makes the area look hydrated. The shade veers towards a ripe cantaloupe and is efficient at neutralising dark circles. You can use the application tips described hereinabove for this product, except that you may prefer to tap using your cleansed, ring finger.
PHASE II: BLEND
In this phase, you apply skin-toned products such as concealer or foundation to unify the complexion. Given the slightly creamy nature of the Stick, the texture and heftiness of the subsequent product is of primordial importance. We want a dewy complexion but lightweight foundations and concealers are too translucent to work successfully with the intensity of the Stick. I think long wear concealers and medium coverage foundations work best to create a bright-eyed look.
If you prefer concealer in a pot, I suggest using a more opaque one such as Nars Soft Matte Complete Concealer (16 shades available) because it possesses the heft (and not the heaviness) to blend seamlessly with the Stick.
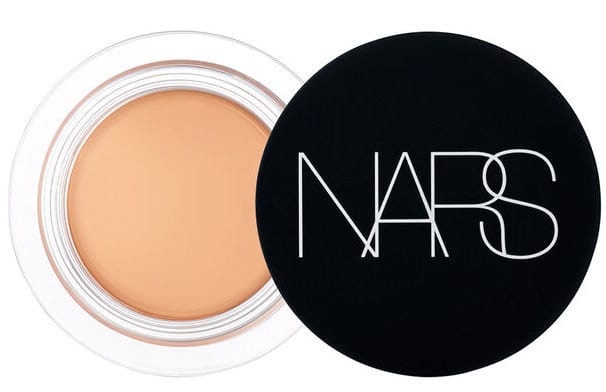
The soft matte finish looks sophisticated, and your eyes look awake. I tap the edge of Brush 244 into the pot and then gently deposit a few dabs of pigment from the inner to the outer corner of the eye. I then blend all of the taps to create a uniformly-coloured area.
If you prefer a stick concealer, then I recommend using the legendary Clé de Peau Correcteur Visage (6 shades available) because it’s creamy but the product sets quickly and adds brightness to the area. I use the same application method as with the pot concealer
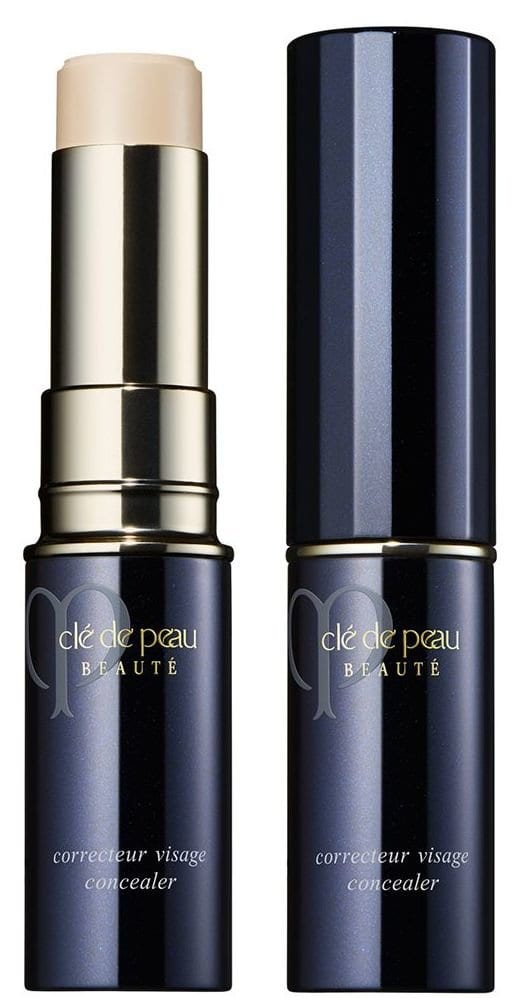
If you prefer liquid concealer, then I propose the Make Up For Ever Ultra HD Light Capturing Self-Setting Concealer (26 shades available).

The product provides medium coverage so it easily works with the Stick, and its creaminess permits drier contours to look plump and fresh. For this type of product, I glob a bit at the base of my left thumb and dip the edge of the Make Up For Ever Brush Straight 176 Brush.

This brush has softer, longer bristles, which permits you to make, soft, sweeping motions in the contour area, without disturbing the Stick. I like to use a quick back and forth motions, being careful to never apply a downward pressure so that I deposit a thin layer of uniformly-applied concealer, above the thin lawyer of the Stick.
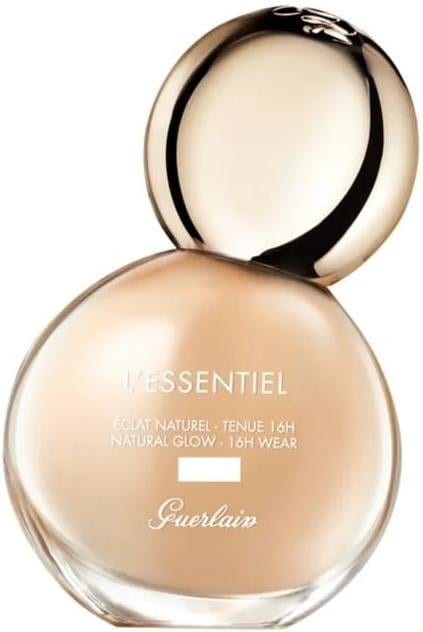
If you prefer using a foundation, then I would suggest using one that provides medium coverage and a glow finish, to add both coverage and brightness to the area. I use the flat side of my beloved Make Up For Ever Foundation Brush Medium 106 to lightly dab on Guerlain l’Essentiel Natural Glow Foundation 16H Wear (30 shades available) on the base of the contour. I then use Brush 176 to apply the foundation to the inner corners of my eyes.
Once the eye contour is blended, I suggest using a soft, light setting powder that adds luminosity to set your artistry. Givenchy Prisme Libre (10 shades available), also relies on colour theory to create a uniform finish.
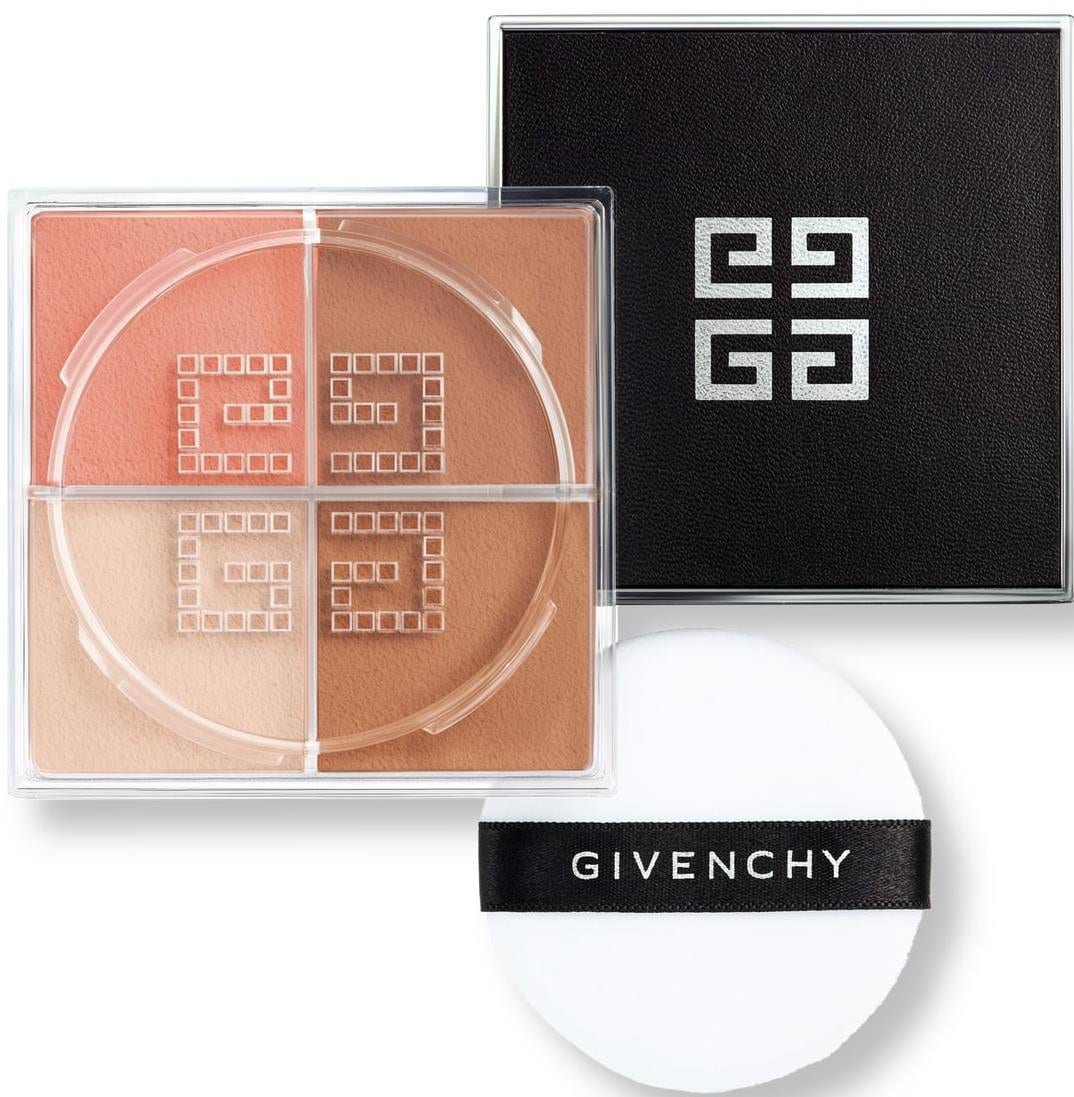
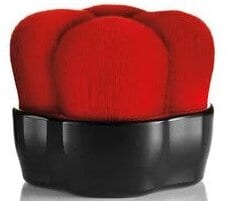
I like to use a tapered, precise powder brush such as the Shiseido Hanatsubaki Hake Face Polishing Brush to mix the four shades included in each box of powder and then tap it into the contour for a precise, even application.
I notice, that on days when I am tired, the demarcation between the contour and the face is not perfectly flat, which draws attention to the area. I like to tap a droplet of a brightening, liquid concealer such as Givenchy Mister Instant Corrective Pen (4 shades available). The product’s luminous finish adds brightness and minimizes the demarcation.

PHASE 3: DISTRACT
A good strategy does not rely on one source of strength to achieve its goal. In this blog, our goal is to look bright-eyed in the face of dark circles. It’s fantastic to cover but it is also important to distract from the contour so that your overall freshness is on full display. In this phase, I focus on two ways to brighten the upper eyelid so that people are drawn to that part.
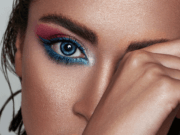
The Hue Stick collection has a soft, cool pink called Perk.
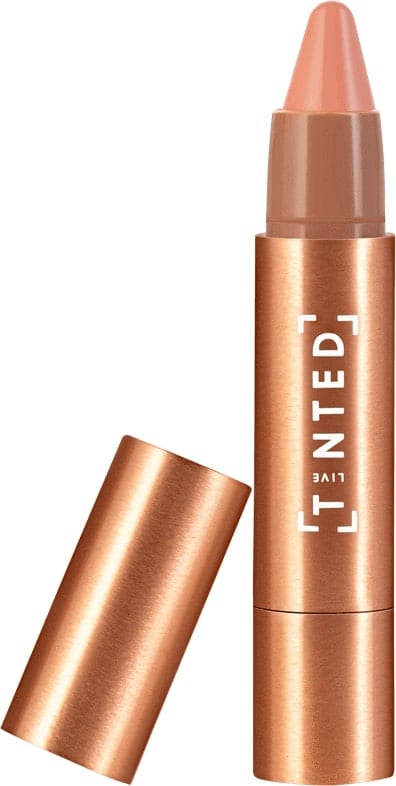
I like to draw a few stripes of colour from the mobile lid to the brow bone and then use my left ring finger to blend the stripes together. I use the left ring finger, in particular, because it imposes the least pressure on the delicate eye area when you tap. Initially, it looks as of the whole area is bathed in pink but as you continue to tap, the colour becomes diffuse and you are left with subtle luminosity.
To continue with the theme of drawing attention away from the contour, I like to trace a thin stripe of highlighter below the eyebrows using pencil such as Benefit High Brow Glow Pencil and then use a sponge to smudge the line.
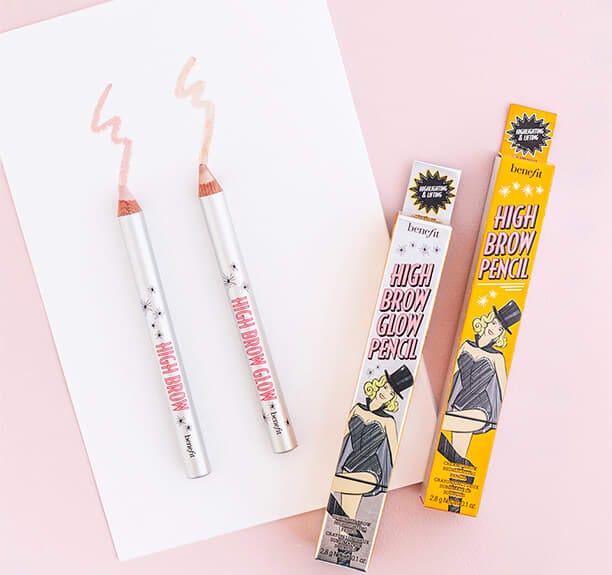
The shade is described as linen pink and it is apparent when first applied. However the smudging results in a soft finish that lifts the brows and makes you look lit-from-within.
MYSTERY SOLVED
Dark circles, for many of us South Asian beauties, is part of the whole package, along with the luscious locks, cocoa eyes and creamy, café skin. However I believe that even though God imposes, woman commands.
A proper understanding of your health profile and sleep hygiene, will put you on the path to vanquishing dark circles. These efforts are complemented by allotting a daily 5 minute budget to set the eyes for the day, by neutralizing, blending and adding distracting flourishes to the area.
Main Image Photo Credit: www.givenchy.com, www.livetinted.com
Meena Khan | Features Editor - Beauty
Author
Meena (@meenalaregina) always loved the idea of exploring the non-conventional idea of beauty. Having grown up as a pimply chubby teenager, she wanted to see the change in the world that best reflected your uniqueness as well. Her well-received collection of blogs where she tries on various beauty p...


