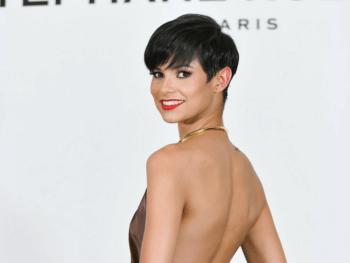
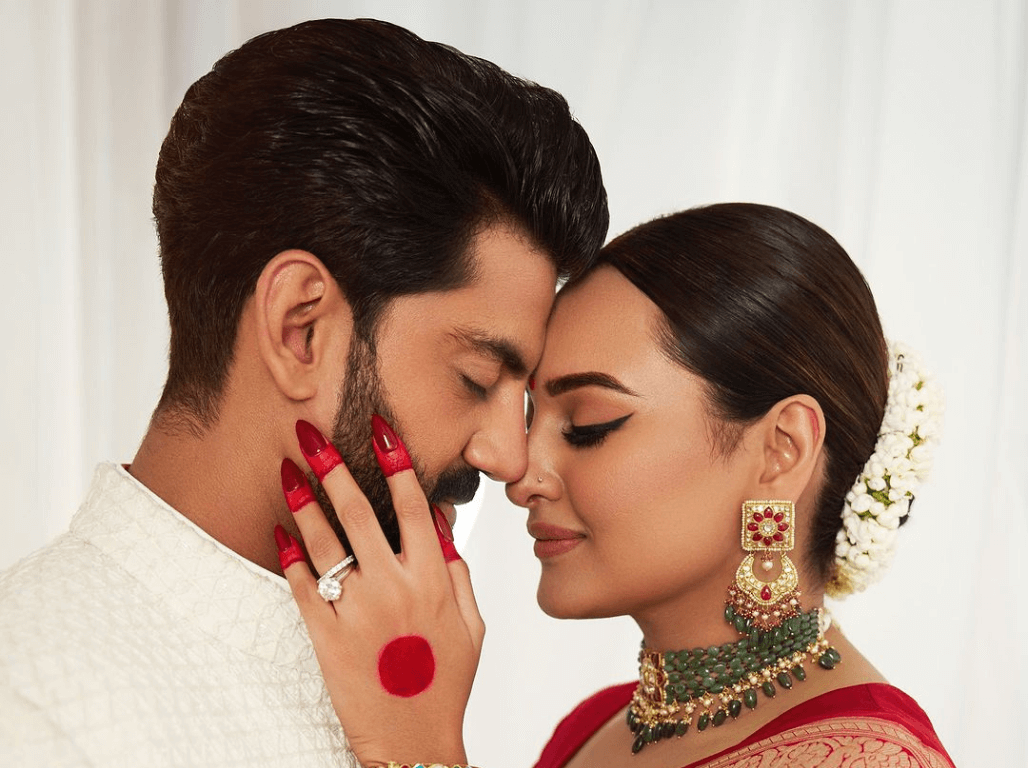
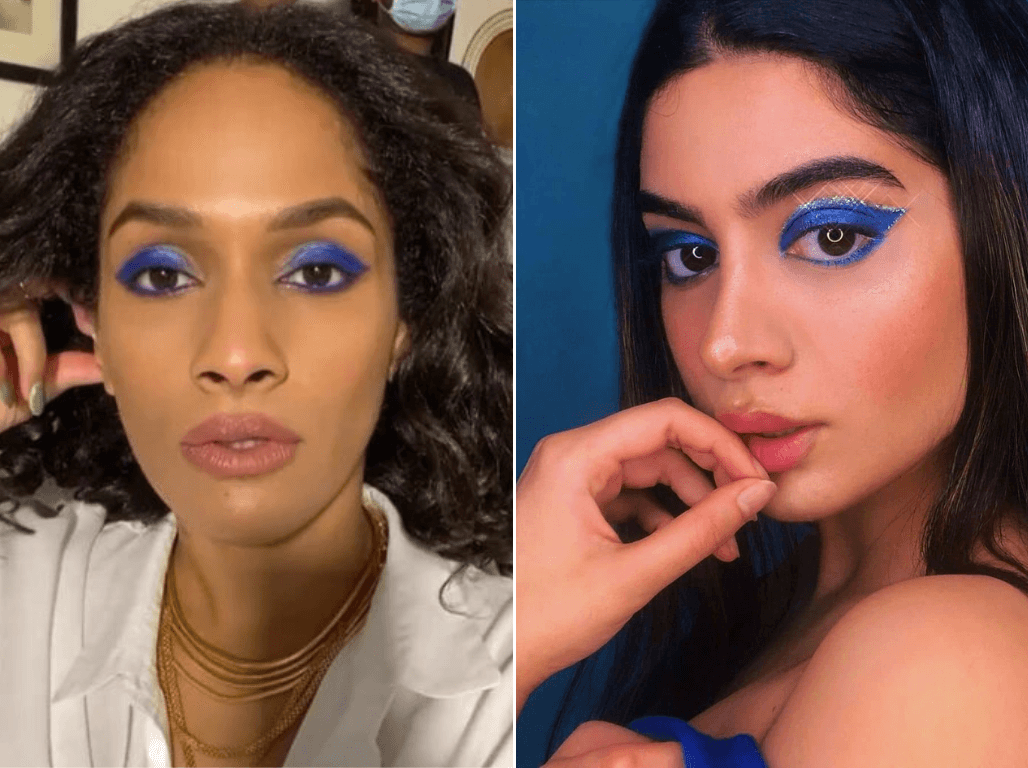
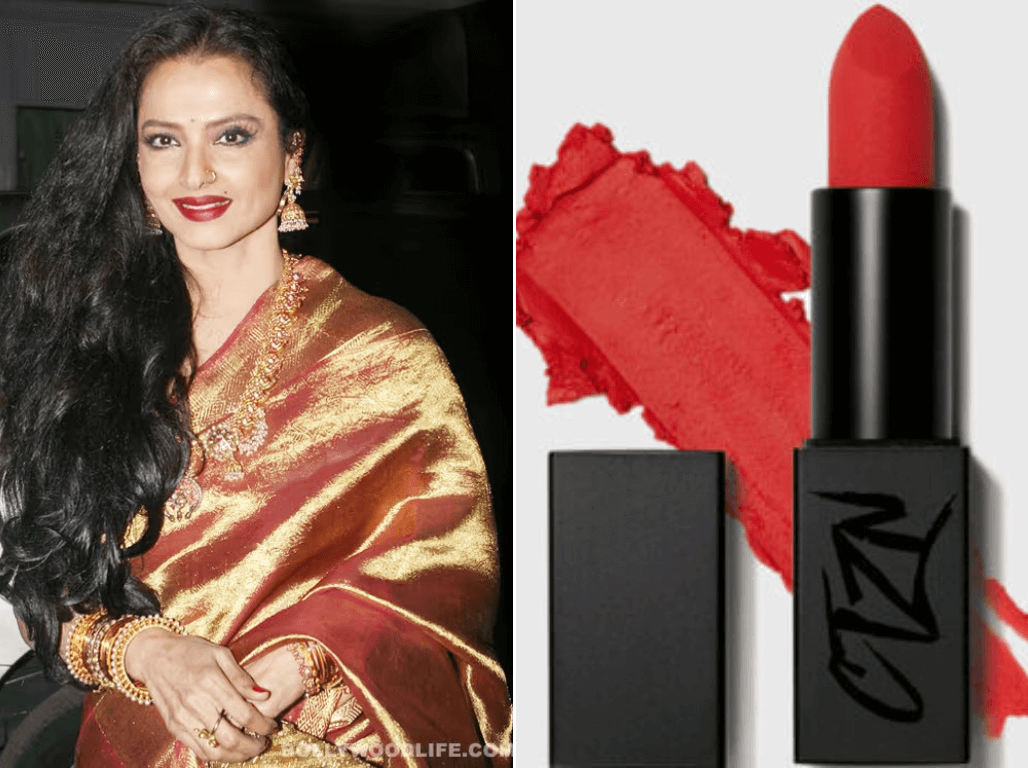
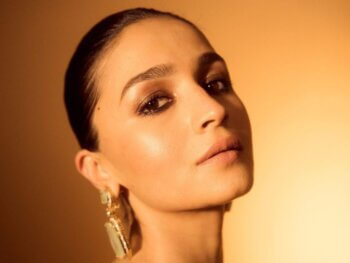
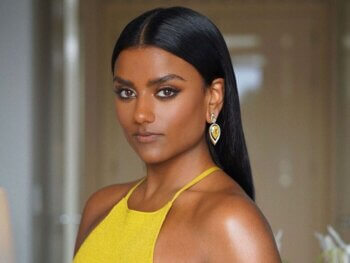
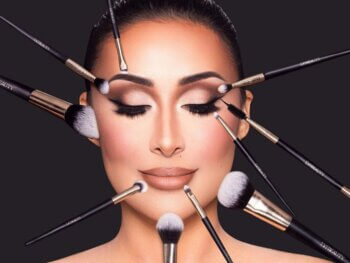
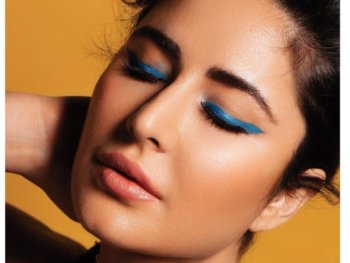
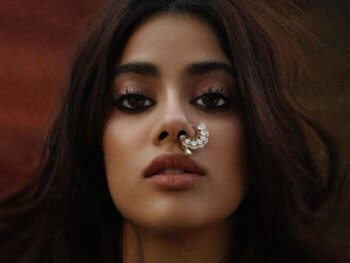
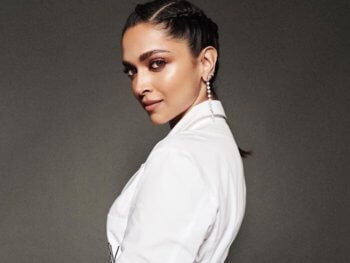
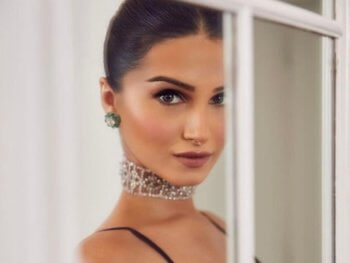
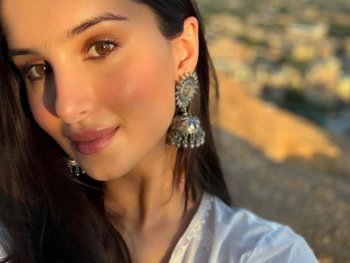
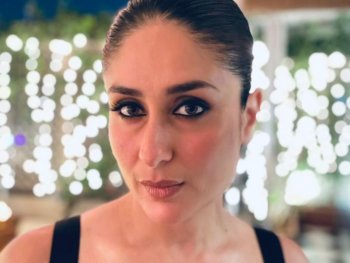
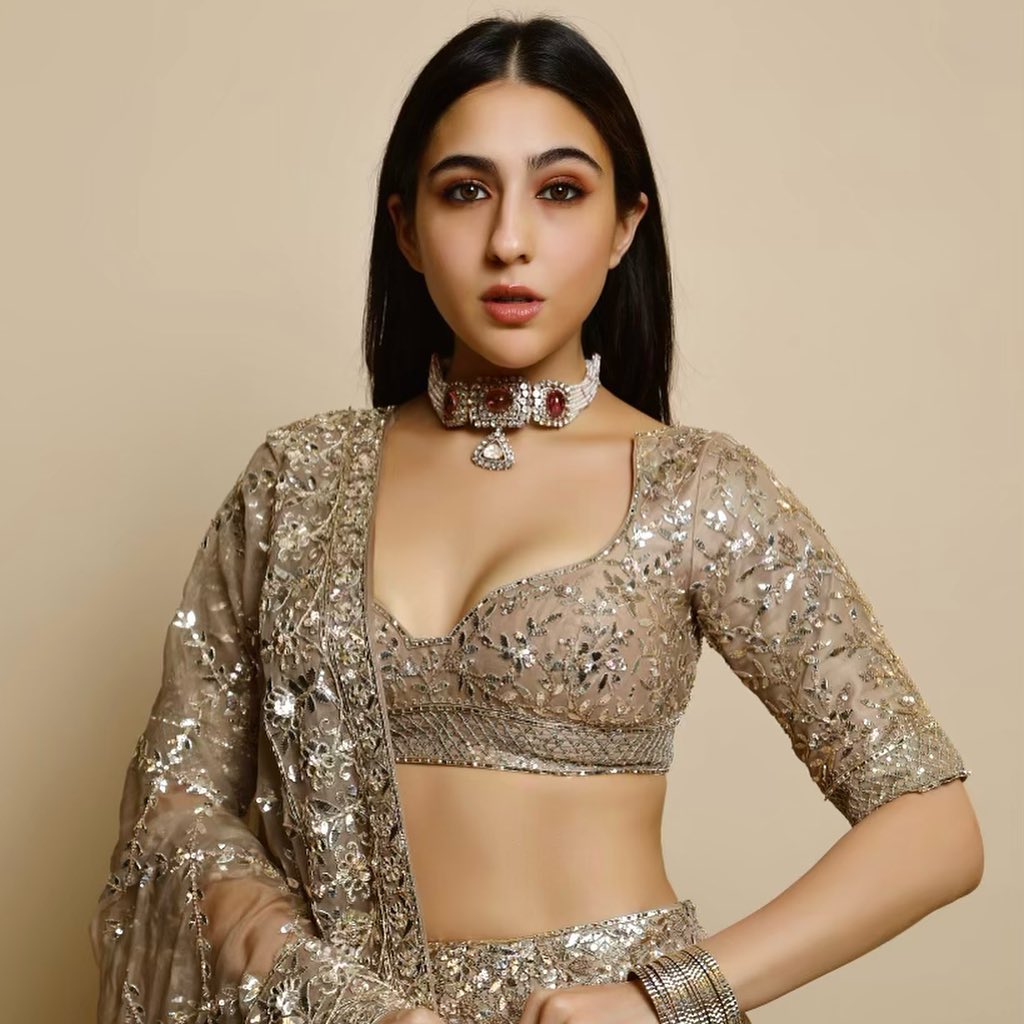
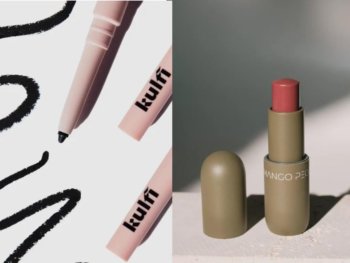
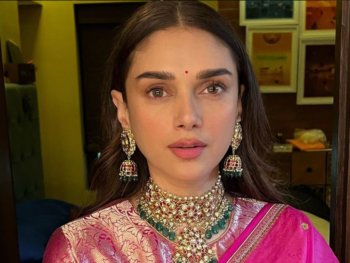
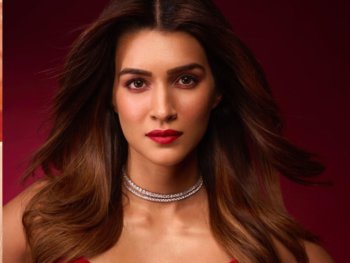
Whether they are Hollywood icons who have mesmerizing eyes such as Salma Hayek or Monica Bellucci or Bollywood beauties such as Deepika Padukone or Sri Devi, we celebrate the brown-eyed beauty with our tips on how to line your eyes like a Bollywood icon.
As I type this blog at the end of St. Patrick’s Day festivities, I now understand why I enjoy the music of the talented Irishman, Van Morrison. It really comes down to his insight: brown-eyed girls deserve to be serenaded and celebrated as much as their light-eyed counterparts.
Growing up, I was surrounded by brunettes whose eye colours ranged from caramel to green, and I always had the darkest eyes. Their eyes were lovely and mine were well… common and not as celebrated. Every girl likes to be complimented on her eyes, and since mine were so common, I drew great comfort in knowing that Van Morrison was likely inspired by a brown-eyed girl, whose eyes were perhaps a lot like mine. Even at the age of 18, I much preferred to be appreciated by Van Morrison than a silly college boy.

I am a grown woman now and I still smile when I hear “Brown Eyed Girl”. I also appreciate how actresses like Monica Bellucci, Salma Hayek, Lupita Nyong’o, Deepika Padukone and the late, great Sridevi are great torchbearers for us women who are blessed with coffee-coloured peepers. Their eyes have portrayed a vast array of emotions, and demonstrate with ample strength that us morenas are as every bit as twinkly, mischievous and sensual as our light-eyed counterparts.

Here are my tips on how to brighten and celebrate brown eyes with tips and tricks that work with South Asian skin tones and beauty challenges.
STEP 1 : EYEBROWS
South Asian women are rightfully recognised for their dark hair, which tends to err on the side of deep and glorious. The same qualities extend to the eyebrows, and herein lies the challenge. If you are like me, you possess both dark hair and dark circles, which casts a shadow around the eyes, creating the illusion of fatigue.
Consequently, the first step is to define and set the eyebrows with a pencil or wax that is one shade lighter than your natural hair colour.
I use a spoolie brush to lift the hairs and then fill-in the sparse areas using Benefit Brow Zings Eyebrow Shaping Kit. I then brush the hairs back in place, and fill in the base of my eyebrows with the matching brown powder, and I add some strokes to the tail.

The trick to keep the definition and colour in place whilst adding brightness is to use a tinted gel like Givenchy Mister Brow Filler in Brunette. The tint is like adding highlights to the eyebrows which opens the eye area.

STEP 2: EYE SHADOW
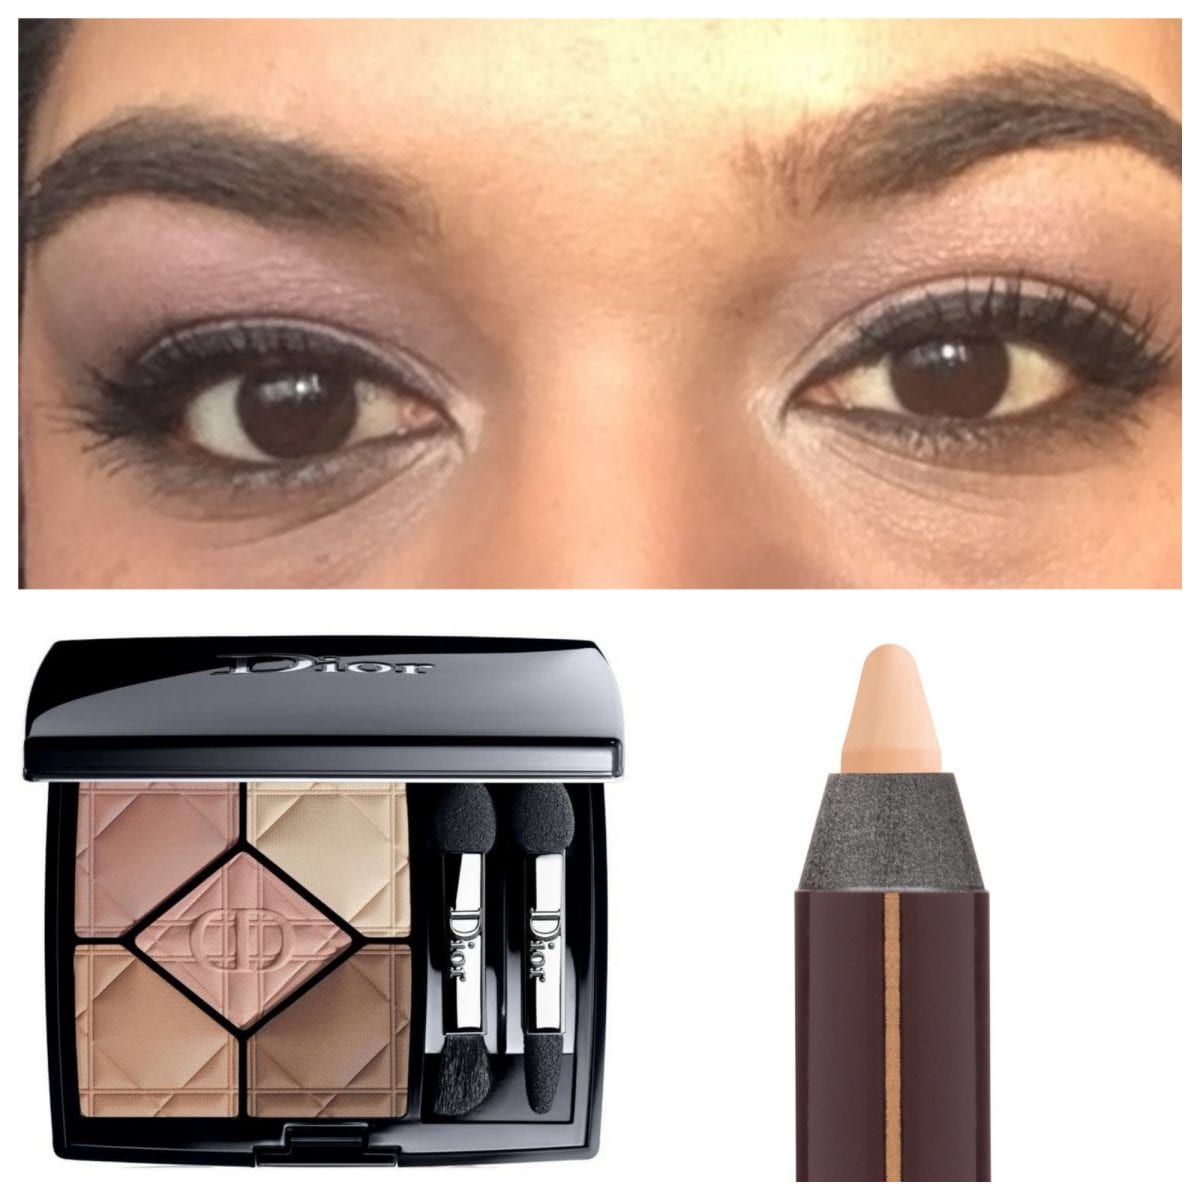
Brown eye shadow will make you look washed out because there is minimal contrast between brown eye shadow, dark hair, dark eyes and dark eyelashes. The trick is to use a palette that compliments brown eyes such as nude or mocha kits. I enjoy Dior 5 Couleurs 537 Touch (“Palette”). This palette is a quintet of shadows which includes cream, pink gold and ash brown shades.

The first step is to colour wash with a base shade. The term `colour wash` means applying one colour, in this case the base shade, from lash line to the eyebrows. The best brush for this step is a flat, duck-billed brush such as Make Up For Ever Medium Eye Shader Brush 226.

Its flatness and density ensures full and even coverage. In the Palette, I recommend the rose gold be used on darker skin tones, and light-to-medium skin tones should use the crème shade.
Prior to applying other shades, curl the eyelashes so that the clamp will not disturb the liner. Further, the errant particles of eye shadow that fall on the eyelashes will serve to fatten them up when mascara is applied.
PAUSE: ANALYZE YOUR EYE SPACING
Beauty comes in many forms, and part of that beauty is how much space is between the eyes. Depending on whether your eyes are regularly-set, close-set or wide-set, your eye shadow, liner and mascara should be applied accordingly.
Regularly- set eyes tend to be common with oval-shaped faces. This spacing is difficult to establish but when there is a clear alignment between the centre of the eye and the top of the cheek, it is likely that the eyes are regularly-set.
Close-set eyes tend to be common with triangular face shapes where the jaw line is wider than the forehead. Eyes are also close-set when they are located very close to the bridge of a narrow nose.
Wide-set eyes tend to be common with heart-shaped faces or inverted triangular faces. It also appears in faces where the bridge of the nose is wide and there is space between the bridge and the inner corner of the eyes.
STEP 2A: REGULARLY-SET EYES
The Palette’s cool Swiss Chocolate brown shade is a universally flattering shade. I like to dip the Make Up For Ever Angled Shader Brush 234 and lightly tap it once in the crease, and then tapping the already-applied eye shadow lightly it with my left ring finger. The left ring finger has the least pressure so it is ideal to use in the delicate eye area.

I like a precise eye, so I prefer to use a calligraphy-style liner such as Charlotte Tilbury The Feline Flick liner (“Liner“), and draw a thin line from the inner to the outer corner of each eye, adding a slight flick at the end, to enhance the eye shape. This tip should be used even if you eyes are puppy-shaped as it will be complemented by the use of brown eye liner on the lower eye line.

Intensity is the hallmark for brown eyes, and adding a rim of brown eye liner, rather than black which can be aging, is a great touch. I am enamoured with Charlotte Tilbury Rock n’Kohl in Barbarella Brown.

It is a creamy bark brown that sets quickly. I like to line the waterline from the inner to the outer eyes. For the puppy-eyed beauties, the same step should be applied except that the line should continue to the outer corner, connecting with the flick, which creates a tiny triangle at the end of each eye.
STEP2B: CLOSE-SET EYES
The same brushes and shades mentioned in step 2A apply to this section.
The goal with close-set eyes is to open up the eye area, and create the illusion of width between the eyes. The first step is to apply a highlighter such as Yves Saint Laurent Touche Éclat on the bridge of the nose and in the inner corners of the eyes. Second, lightly tap the Swiss Chocolate brown shade from the outer to the inner corner, then tap the eye shadow again, but this time stop when you reach the mid-eye. The colour should be intense on the outer half of the eyes.

A thin line of liner should be drawn from the inner to the outer corner but as with the eye shadow, make the Liner thicker from the mid-eye to the outer corner, and then draw an slightly elongated flick.
The lower eye line should be lined three-quarters of the way, from the outer corner going in, and the remaining quarter which is the space leftover towards the inner corner, should be filled lined with a cream-coloured liner such as Charlotte Tilbury Eye Cheat.

Cream-coloured liners are a great way to extend the whites of the eyes, creating a wide-awake look, which opens the eye area.
STEP 2C: WIDE-SET EYES
The same brushes and shades mentioned in step 2B apply to this section.
The goal with wide-set eyes is to create the illusion of closeness between the eyes. The first step is to lightly tap the Swiss Chocolate brown shade from the outer to the inner corner of the eye. To close the area between the eyes, trace a second layer of eye shadow between the mid eye and the inner corner. Thereafter, using your left ring finger. lightly tap the eye shadow that has been applied from the mid-eye to the outer corner.
A thin line of Liner should be drawn from the inner to the outer corner but as with the eye shadow, make the Liner thicker from the mid-eye to the inner corner
The lower eye line should be lined three-quarters of the way, from the inner corner going out, and the remaining quarter which is the space leftover towards the outer corner, should be filled lined with a cream-coloured liner.
STEP 3: MASCARA – MASTER ILLUSIONIST
The best mascara for this look is a curling one such as Diorshow Iconic Overcurl. This product`s bristles separates each lash, and each coat holds the curl for hours.`

Regularly-set eyes do best with applying two coats of mascara. The second coat should only be applied after the first coat is completely dry. The trick is to wiggle the mascara from the base to the tip. To create a lifted look, make sure to wiggle the brush towards the outer corner of the eye and then brush upwards.
Close-set eyes benefit from one application of mascara and then two additional coats should be applied on the eye lashes located between the mid-eye and the outer corner. The key is to swoop out the mascara brush so these lashes look lifted.

Wide-set eyes also benefit from a well-applied single coat of mascara. The trick for this spacing is to apply an extra coat on the middle third of the lashes, so that the centre of the eye is lifted and people will be drawn to the intensity of the darker inner half of the eyes.
Once coffee-coloured peepers are bathed in a seductive combination of nude, pink, black and brown, nothing stops them from hypnotising people at the dead of midnight when the sky is reflected in our eyes. So go forth knowing that great artists like Van Morrison understand what we know – brown eyes are simply lovely and melodious.
Meena Khan | Features Editor - Beauty
Author
Meena (@meenalaregina) always loved the idea of exploring the non-conventional idea of beauty. Having grown up as a pimply chubby teenager, she wanted to see the change in the world that best reflected your uniqueness as well. Her well-received collection of blogs where she tries on various beauty p...
